Reinforcing seams with hot melt yarn is a practical technique to enhance the durability and strength of seams in various textile products, particularly in applications where additional support is needed, such as in footwear, automotive upholstery, and industrial textiles.
Here's a step-by-step guide on how to reinforce seams using hot melt yarn:
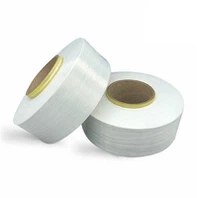
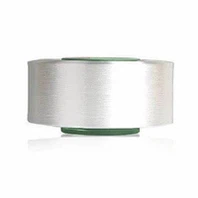
1. Choose the Right Hot Melt Yarn
Select a hot melt yarn that is compatible with the fabric you are working with. Typically, polyester or nylon-based hot melt yarns are used, as they offer good adhesion properties, flexibility, and durability.
Make sure the hot melt yarn is designed for the specific end-use, whether it's for high-stress applications or for more lightweight reinforcement.
2. Prepare the Fabric
Lay out the fabric pieces that need to be sewn together, ensuring they are aligned correctly.
If necessary, pre-treat the fabric (such as washing or pressing) to remove any contaminants that could affect adhesion.
3. Position the Hot Melt Yarn
Place the hot melt yarn along the seam line where reinforcement is needed. This could be done either by placing the yarn on top of the seam or between the layers of fabric, depending on the desired outcome.
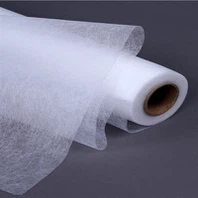
In some cases, you may use a hot melt adhesive film alongside the yarn to further enhance bonding.
4. Sew the Seam
Sew the fabric pieces together using a sewing machine, ensuring that the needle passes through both the fabric layers and the hot melt yarn. If using the yarn as an insert in the seam, the yarn should be slightly fused onto the fabric during the sewing process.
A zigzag or overlock stitch is often preferred for this type of reinforcement, as it helps secure the hot melt yarn in place and prevents it from shifting during subsequent use.

5. Activate the Hot Melt Yarn
To activate the adhesive properties of the hot melt yarn, use heat. This can be done using a heat press, an industrial iron, or a specialized heating tool. The heat will melt the adhesive in the yarn, allowing it to bond with the fabric fibers and form a stronger, more durable seam.
Ensure that the temperature is carefully controlled to avoid damaging the fabric. Typically, the temperature should range between 120°C to 180°C (depending on the yarn type).
6. Cool and Set
After applying heat, allow the seam to cool and set. This cooling phase is crucial for the adhesive to fully bond and ensure that the seam remains reinforced.
You may also press the fabric while it cools to ensure the yarn is securely attached and no wrinkles are formed.
7. Inspect the Reinforced Seam
After the seam has cooled, inspect it for any signs of weak bonding or shifts in the yarn. A properly reinforced seam should feel more stable, with the hot melt yarn securely fused to the fabric.
8. Final Touches
If necessary, trim any excess hot melt yarn or adhesive film that may be visible along the edges of the seam.
Depending on the application, you can repeat the process to reinforce other seams or high-stress areas for additional strength.
Benefits of Using Hot Melt Yarn for Seam Reinforcement
Improved Durability: Hot melt yarn provides additional strength and stability to seams, reducing the risk of fraying, tearing, or coming apart.
Flexibility: Hot melt yarn retains flexibility after bonding, ensuring that the fabric maintains its intended shape and comfort, especially in garments and footwear.
Water Resistance: The adhesive properties of hot melt yarn can provide some water-resistant qualities to the seam, which is especially beneficial in outdoor or technical applications.
Reduced Weight: Compared to traditional reinforcement methods, hot melt yarn is lightweight and does not add significant bulk to the fabric.